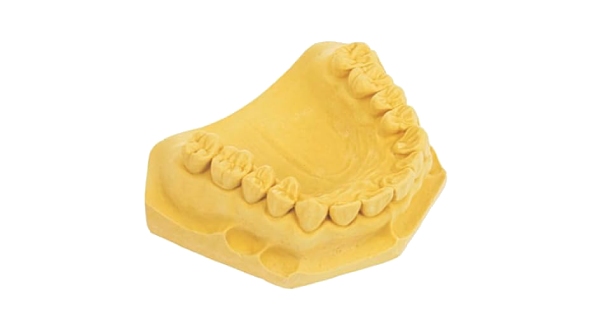
Making plaster models at home allows you to replicate your oral cavity, resulting in a perfectly fitting night guard. However, sometimes plaster models break or crack. Avoiding this hinges on three key aspects: materials, technique, and thickness.
Nyxweive uses high-quality dental plaster powder, which is inherently very stable. So we just introduce the structure and operational techniques .
I. Each step correctly ensures a stronger model.
Step 1: Correctly Mixing the Plaster Powder
After mixing the plaster powder and water:
- Stir for 25–30 seconds.
- Press while stirring.
- Smooth the mixture against the side of the bowl.
This removes air bubbles and creates a more even texture. The final mixture should be smooth and free of lumps.
Tip: Each packet of Nyxweive plaster powder contains 70 grams. For one upper or lower model, use half a packet (35 grams) + 15–16 ml of water. For other brands, please adjust the proportions according to the instructions.
Step 2: Slowly Pour the Plaster into the Mold
Pour in small amounts, multiple times, slowly, do not fill it all at once.
- First, use a scraper to press the plaster into the detailed areas.
- Fill the delicate areas first, then gradually fill the entire.
- Ensure that every area is fully filled, leaving no gaps.
After pouring, let it sit for at least 45 minutes; do not move it prematurely.
* Thoroughly Remove Air Bubbles
While pouring, gently tap the tray on the table to vibrate. Vibration will expel any air bubbles hidden inside, significantly improving the model’s strength. Continue tapping until the impression is completely filled.
* What should I do if the plaster mixture dries out?
- If the mixture thickens, stir thoroughly again.
- If water must be added, add only 3-5 ml at a time; do not add more than necessary.
II. Thickness Determines Strength
Thinner plaster models are more prone to breakage; thickness directly affects strength.
If there is gum recession or the impression is shallow: You can apply a ring of tape around the outer edge of the blue tray to create a temporary retaining edge. This increases the thickness of the base of the model, making it more robust and less prone to breakage.
Following the above methods can significantly reduce cracking and damage to plaster models, making your DIY night guard making process easier and smoother!
For more practical insights on “custom your own night guard at home,” click Help Center to read.