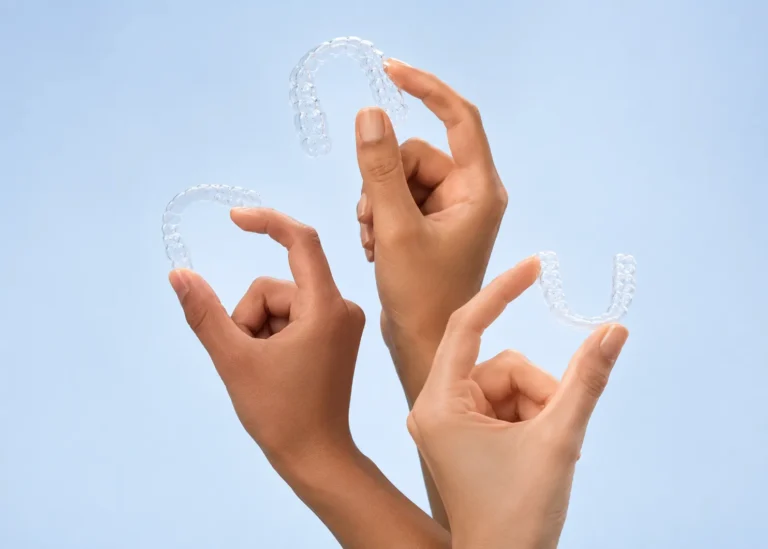
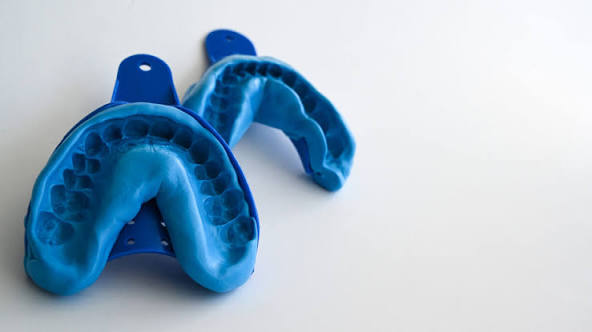
Instead of softening and shaping a generic tray, this kit creates a guard based on your actual teeth. The result is thinner, more precise, and much more comfortable to wear overnight.
Yes—because it’s formed from your own dental impression, it’s designed to match your teeth closely, not just approximate them like standard guards.
It’s designed to handle regular and moderate grinding. For very severe cases, it can still help, but durability may vary depending on intensity.
Don’t worry—most steps are forgiving, and we provide clear guidance. If something doesn’t turn out right, you can usually redo it or reach out for support.
After Purchase
Start by reviewing the instructions and video guide once from start to finish, so you know what to expect before beginning.
Most people complete it in about 2–3 hours, not including any setting or cooling time.
You’ll need a few common household items: a vacuum cleaner, an oven, and a pair of scissors. Everything else is included in the kit.
Rushing the process. Taking a bit more time—especially during molding—usually leads to a much better fit.
Refill & Reuse
You can easily make more night guard using a refill kit, without needing to repurchase the full setup.
Refill kits will be available on our official website and Amazon US soon. If they’re not listed yet, feel free to contact us for the latest availability.
We plan to offer bundle pricing and returning customer discounts—stay tuned or reach out to learn about current offers.
We recommend keeping the Vacuum forming unit, Metal frame, Mixing bowl and spatula, Measuring cup, Sanding board and your best-fitting trays. With these, you’ll only need refill materials for your next one.